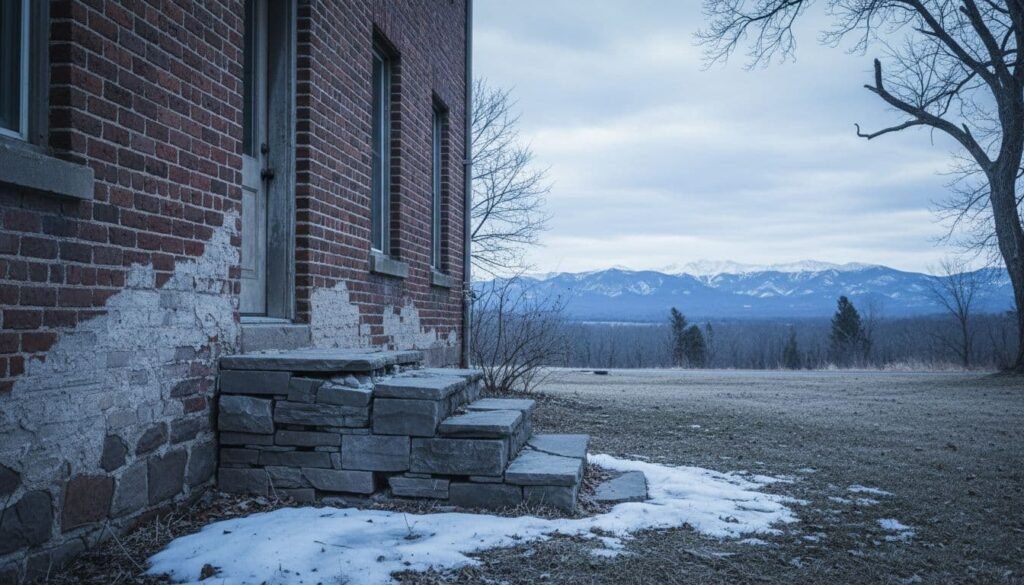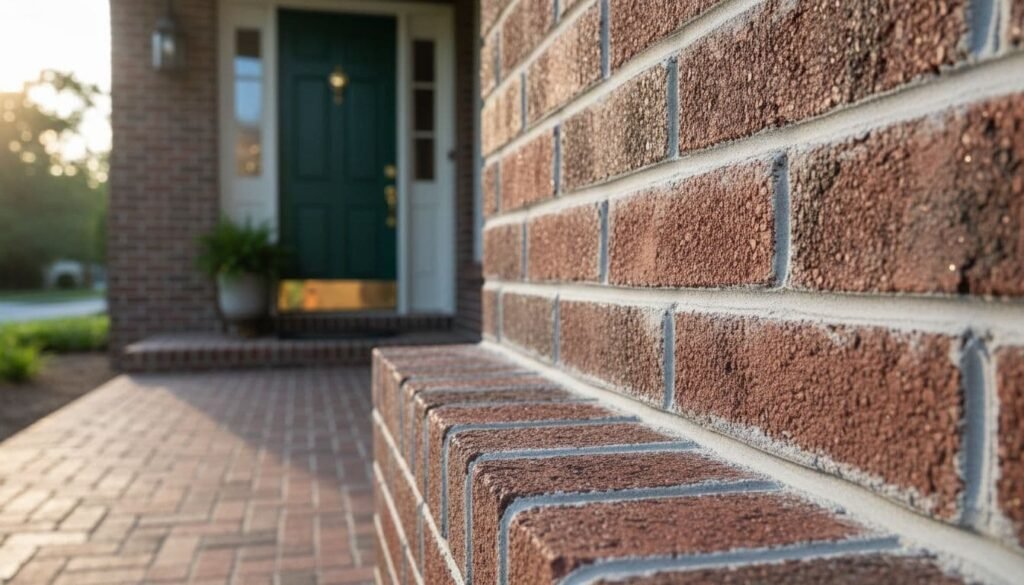
Brickwork can last for generations, but the mortar joints are the sacrificial part. In Billings, cold snaps, freeze-thaw cycles, and wind-driven rain work those joints hard. When mortar starts to fail, water gets behind the brick, and small problems turn into loose bricks, interior stains, and costly rebuilds.
That’s why brick tuckpointing matters. Done right, it restores the joints, sheds water, and keeps the wall tight. Done wrong, it can trap moisture and damage the brick faces.
This guide shows what to look for, what’s normal aging versus a real concern, and how to hire a mason who’ll repair it correctly.
Why mortar joints fail faster in Billings
Mortar is supposed to be softer than the brick. It takes the weathering so the brick doesn’t. In our area, three stressors show up again and again:
- Freeze-thaw pressure: Water soaks into tiny gaps, freezes, expands, and pops mortar loose.
- Wind and sun exposure: South and west walls dry fast, then get hit again, which speeds cracking and shrinkage.
- Water entry points: Bad or aging flashing, missing caps, clogged gutters, and failing caulk can dump water straight onto masonry.
If your home is located in older neighborhoods with original brickwork, the mortar may also be reaching the end of its service life. Even newer homes can have early joint failure if the wrong mortar was used or the wall wasn’t detailed for drainage.
Brick tuckpointing vs repointing (and why the terms get mixed)
Most homeowners use “tuckpointing” to mean mortar repair. In the trade, there’s a difference:
- Repointing: Removing failed mortar and packing in new mortar that matches the original in strength, texture, and color.
- Tuckpointing: A finishing method that uses a second, contrasting line to make joints look crisp and uniform (more common on historic or decorative work).
On many Billings homes, the job is technically repointing, but you’ll still hear it called tuckpointing. What matters is the method and mortar match. For a closer look at what’s available, see Billings tuckpointing services.
Spot the early warning signs
Mortar doesn’t usually fail all at once. It gives you clues first. Use this quick guide when you walk the perimeter of your home.
| What you see | What it usually means | Why it matters |
|---|---|---|
| Mortar looks sandy or washes out when touched | Surface erosion | Joints start holding water instead of shedding it |
| Cracks running along the joint line | Shrinkage, movement, or freeze-thaw | Water follows cracks deep into the wall |
| Gaps at brick edges (open head joints) | Mortar loss | Bricks can loosen over time |
| White chalky film on brick (efflorescence) | Moisture moving through masonry | Not always serious, but it signals water travel |
| Bricks flaking at the face (spalling) | Water trapped or mortar too hard | Damage can accelerate quickly |
A simple rule: if the mortar is recessed more than about a quarter inch in spots, or it’s crumbling in chunks, it’s past “cosmetic.”
Watch these high-risk areas first
These spots take the most punishment and often fail first:
- Chimneys, especially above the roofline
- The top courses of freestanding walls
- Around window and door openings
- Near downspouts and splash zones
- Along the foundation where snow piles up
A practical DIY inspection checklist (10 minutes, no tools)
You don’t need a ladder to spot most problems. Walk the house on a dry day and look at mortar joints at eye level.
Check the joints
- Press a key lightly into the mortar. If it powders or falls out, it’s failing.
- Look for “stair-step” cracking along joints. This can point to movement.
- Note any fresh mortar that’s a different color. Patchwork can hide bigger issues.
Check water paths
- Look below gutters and roof edges for dark streaks on nearby brickwork.
- Check the chimney where it meets the roof. Counterflashing and step flashing failures are common leak sources.
- Find weep holes (small openings near the bottom of veneer walls). If they’re missing or clogged, moisture can build behind the brick.
Check inside, too
- Musty smells near exterior walls
- Bubbling paint or staining on plaster or drywall
- Dampness after snow melt
If you see interior moisture and exterior joint loss together, don’t wait. That’s how rot, mold, and freeze damage get a head start.
What proper brick tuckpointing work should look like
Good mortar work is quiet and methodical. The wall is protected, joints are cut clean, and the new mortar is packed tight. Here’s the basic sequence a pro should follow.
Step 1: Match the mortar before mixing a batch
Mortar isn’t one-size-fits-all. Strength and permeability matter. If the new mortar is too hard, it can break the brick faces instead of wearing out first. Color matching also matters, especially on front elevations.
Step 2: Remove mortar to the right depth
Loose mortar needs to come out deep enough to hold the new material. Shallow “smears” don’t last. Pros use grinders and hand tools carefully to avoid chipping brick edges.
Step 3: Control dust and protect the site
Grinding mortar creates silica dust. Expect plastic protection, controlled cutting, and cleanup. This is a safety issue, not just neatness.
For OSHA’s overview of silica hazards in construction, review OSHA’s silica guidance.
Step 4: Pack and tool the joints
Mortar is installed in lifts, compacted, then tooled to match the joint profile (concave, V-joint, flush, etc.). Joint shape affects water shedding.
Step 5: Cure it, don’t rush it
Mortar needs proper moisture and temperature conditions. Hot, dry wind can flash-dry joints. Freezing temps can ruin green mortar. Winter planning matters in Montana.
Costs: what drives the price in Billings
Tuckpointing and repointing costs vary a lot because access and risk vary a lot. A one-story garden wall is nothing like a tall chimney.
Common cost drivers include:
- Height and access (lifts, scaffolding, roof setup)
- Extent of joint failure (spot repairs versus whole elevations)
- Mortar matching (custom blends take time)
- Brick replacement (spalled or cracked units may need swapping)
- Water management fixes (flashing, caps, sealants, drainage details)
Local conditions, scheduling, wall design, and other factors can cause overall pricing ranges to vary.
Hiring right: questions that separate pros from patchers
A good mason protects the brick, matches the mortar, and fixes the water path. A patcher makes it look better for a season.
Ask these questions before you sign:
“How will you match the mortar?”
You want an answer that mentions color, sand, and strength (not just “we use Type S for everything”).
“How deep will you remove the old mortar?”
Listen for a clear depth plan and clean edges, not surface filling.
“How will you protect the brick faces?”
Careful grinding, the right blades, and hand finishing reduce chipped edges.
“What’s your plan for chimneys and rooflines?”
Roof work needs flashing awareness and fall protection. If they brush off safety, move on.
“Will you address water entry points?”
If the mortar failed because of a missing cap or bad flashing, repointing alone won’t hold.
If you’re also repairing outdoor brick features like freestanding walls, steps, or hardscape structures, it helps to work with a crew that handles various kinds of masonry.
When to stop inspecting and call a pro
Some conditions are beyond a homeowner’s ability to check, or they carry a lot of risk if missed.
Call a mason for an on-site assessment if you have:
- A chimney with loose brick, leaning, or open joints above the roofline
- High walls where ladder work is unsafe
- Stair-step cracking paired with doors or windows that stick (possible movement)
- Widespread brick cracking or bulging sections
- Active water intrusion, interior staining, or damp odors that keep coming back
These problems often need more than joint repair. They may require brick replacement, rebuilding sections, or correcting flashing and drainage.
Don’t Delay Mortar Repair
Mortar joints are the weather seal for your brickwork. When they fail, the wall starts acting like a sponge. Catching early joint loss, checking weep holes and flashing, and hiring a mason who matches mortar correctly is the difference between a lasting repair and repeat work.
If your walkaround points to failing joints, schedule an evaluation and plan the repair before another freeze-thaw season hits. Brick tuckpointing is one of the best ways to protect the structure you already own.